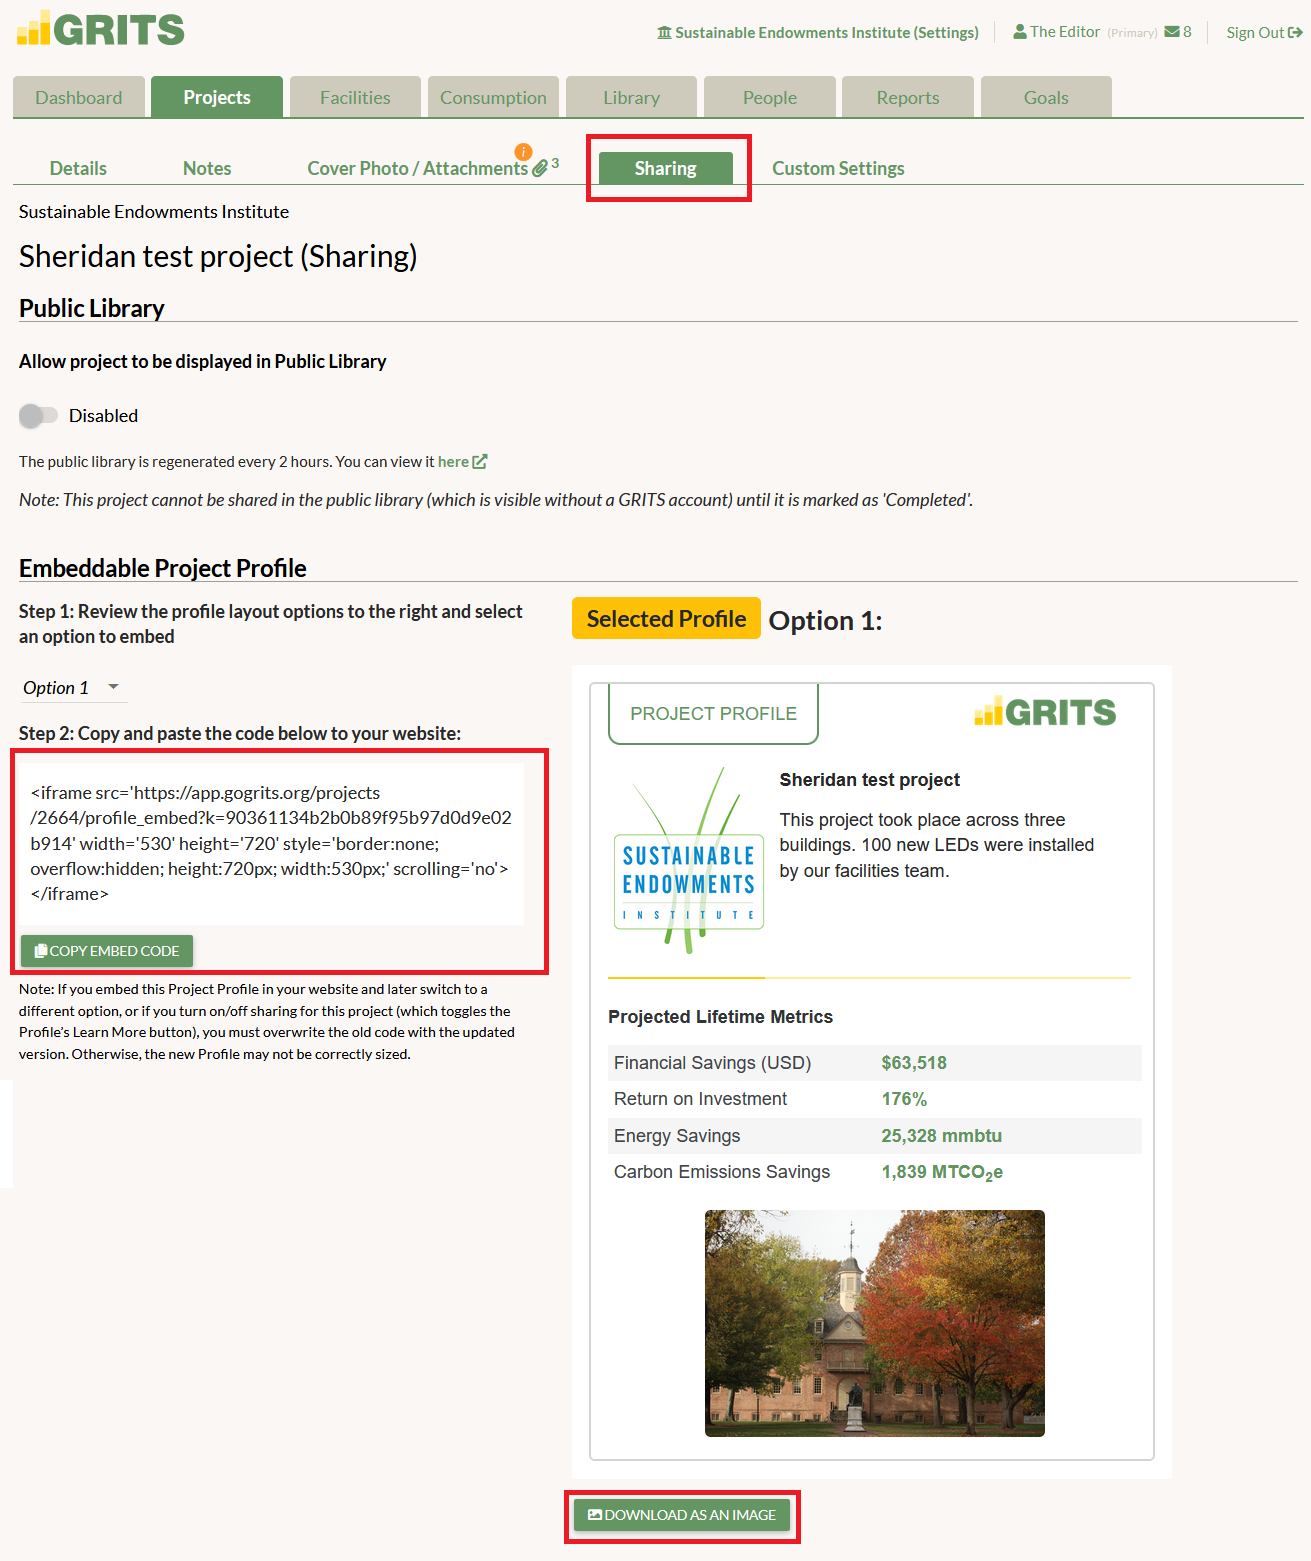
On the Sharing sub-tab you’ll find another project-level sharing option: an embeddable Project Profile. The Profile is a widget that displays your project’s name, description (up to around 120 characters), lifetime energy/carbon/water/waste/financial savings and return on investment, and any publicly visible cover photo that you’ve chosen. It will also display your institution’s logo if you’ve uploaded it on the Settings page. A “Learn More” button will appear at the bottom of your Profile if the project’s “Sharing” switch is flipped on (found back on the Details sub-tab), and any viewer will be able to click it and access the full read-only Public Project page.
You can see a preview of what each Project Profile layout option would look like when embedded in a website. To use your Profile, first choose the option you prefer from the dropdown list right under “Step 1.” The “Selected Profile” badge will appear next to the option you’ve selected. Next, copy the iframe code and paste it into the backend of your website. Note that if you ever switch the Profile layout option later or turn the project’s Sharing switch off, you must overwrite the old iframe code with the updated version to ensure that the Profile is sized correctly. Any data updates you make to your project will automatically be reflected in your embedded Profile.
There is also a “Download as an Image” button that appears below each Project Profile preview that you can use to generate a .png file for sharing on social media pages or elsewhere.

